
Hugging Face and Microsoft Turn Azure Model Deployment Into a Single Click
Hugging Face and Microsoft's native catalog integration lets you push Hub models like BART onto Azure endpoints without writing deployment code.
Takeaways
- Hugging Face and Microsoft offer one-click deployment of Hub models to Microsoft Foundry and Azure ML endpoints.
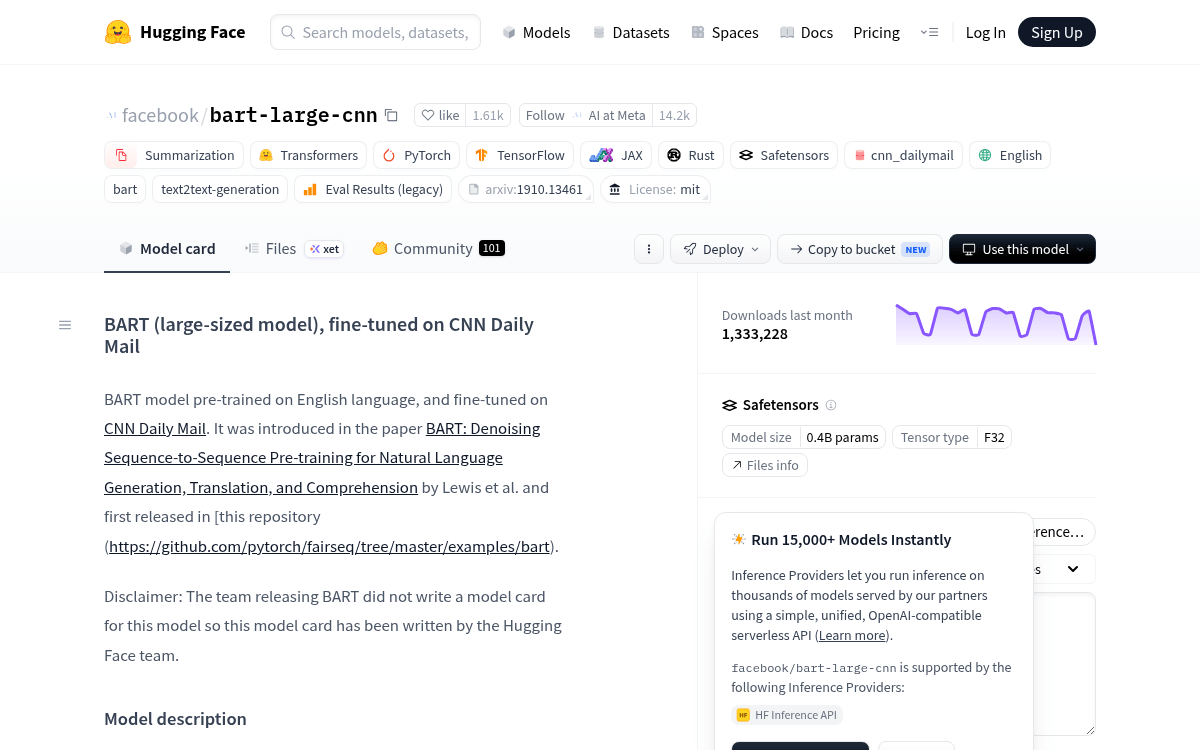
- facebook/bart-large-cnn is among the supported models, tagged
deploy:azureon its model card. - Over 10,000 Hugging Face models are accessible in the Azure catalog, with day-0 availability for new releases.
- Eligibility requires Transformers/Diffusers/Sentence-Transformers tag, Safetensors weights, and a permissive license.
- Weights download directly from the Hub to your workspace endpoint at deploy time, not hosted on Azure.
- Batch endpoints are not yet supported; deployments target real-time managed online endpoints only.
Shipping a Hugging Face model into production on Azure used to mean writing scoring scripts, packaging containers, and wiring up managed endpoints by hand. The Hugging Face and Microsoft partnership has folded that pipeline into a Deploy button on the model card, and facebook/bart-large-cnn, one of the workhorse summarization checkpoints on the Hub, is flagged as one-click deployable to Microsoft Foundry and Azure Machine Learning.
The integration runs through a native Hugging Face collection inside the Azure model catalog, letting you push thousands of Hub models onto Azure's managed infrastructure with minimal configuration. BART-large-CNN carries the deploy:azure tag, which is how the Hub signals that a checkpoint has a working deployment template on the Azure side.
The click path, end to end
The flow fits in a short checklist. Starting from the model page on the Hub:
- On the model card, click Deploy, choose Azure ML, then click Go to model in Azure ML.
- Azure ML Studio redirects you to the model card. Click Use this model and fill in the endpoint and deployment configuration: endpoint name, instance type, instance count, and so on. Click Deploy.
- Once the endpoint is created and the deployment is ready, send requests to the API.